Being able to cook and/or heat food during emergencies without electricity/power is absolutely essential in a world of increasing natural disasters, pandemics, wars, food shortages, rolling power outages, and countless other emergency situations. I grew up camping regularly and have enjoyed learning how to cook meals in emergency-type situations without electricity.
Below we have listed ways that will help you know exactly how to safely cook and heat food in an emergency and do it without electricity. See also how to boil water without electricity and how to keep warm (alternative heat sources) during a power outage. So how do you cook indoors without electricity?
10 Ways To Cook Indoors During An Emergency and Without Electricity
- Gas Stove (Kitchen Stove)
- Wood Burning Stove
- Propane
- Butane
- Canned Heat
- Alcohol
- Candles
- Fireplace
- MRE (Meals Ready to Eat)
- Freeze-Dried Food
**Safety should always be a top priority. When using something other than your kitchen stove for cooking indoors, remember proper ventilation is VERY important. You should always have a working carbon monoxide detector in your home as well. Also, remember to use caution and watch small children when cooking with an open flame.
In addition to cooking food, it is also critical to have clean drinkable water. Selecting the right water filter for you and calculating how much water to store will help you be prepared to survive any emergency.
Gas Stove (Kitchen Stove)
A gas stove is one of the easiest and safest ways to cook indoors in an emergency. If you have a gas stove and a lighter in your kitchen you will be good to go.
When the power is out you will need a lighter or a match to light the stove. We recommend long wooden matches or a lighter with a long neck.
To light your stove when the power is out:
- Strike a match or start your lighter
- Turn the knob of the burner to the lowest setting
- Immediately place the match or lighter close enough to light the gas (don’t light the stove if the gas has been flowing for more than a few seconds)
- The burner should ignite almost instantly.
Wood Burning Stove
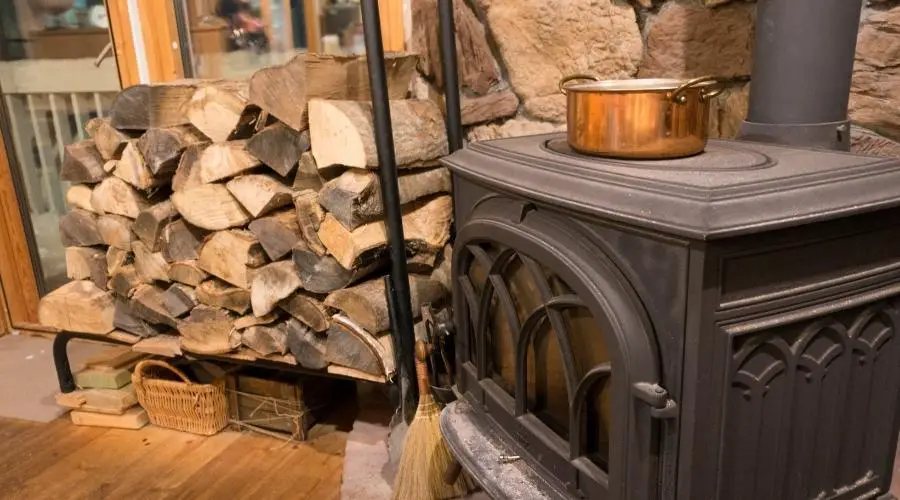
The top of a wood-burning stove is a great way to cook indoors. Wood burning stoves should have proper ventilation with an inspected chimney/vent. However, in the summer months this isnt always an option.
If you have a wood-burning stove it will be really easy to cook on it while it heats your house. So long as it has been serviced and is safe to use this is a great option.
The top of your wood-burning stove should get hot enough to boil water and cook a meal. This can be very handy if it is winter and you are trying to heat your house as well as make food for your family when the power is out.
Be cautious when using the top of your wood-burning stove. There is no way to regulate the temperature and they often get very hot so your cooking time may be less.
Wood-burning stoves are not as common as they used to be but they used to be in every home. They used to be multipurpose and used for heating the house as well as cooking and baking in every home.

There are two types of wood-burning stoves now. One is for heating the house and the other is for heating as well as cooking or baking that is called a wood cookstove. These are a great option if you have the space and money to put a stove like this in your home. They are not as much for heating and more for just cooking and baking.
Propane
Propane can be safely used to cook inside when used with ventilation.
When using a propane stove indoors
- Use a stove rated for indoor use
- Open a window or door
- Check for any damage or wear
- Have your stove checked by a professional yearly
If you have a propane cook stove it can be used inside to cook. It is important to have proper ventilation such as near an open window or open door because propane will release a small amount of carbon monoxide.
Cooking with an open flame does release exhaust into the air. Cooking by a window that is open or opening the door will help keep you and your family safe.
However, we prefer to use propane cooking stoves in our garage or on our back porch and recommend you do the same if at all possible.
We like this dual-fuel stove that is compatible with butane and propane.
What we like:
- Dual-fuel (Butane and Propane)
- Butane has an indefinite shelf life
- Comes with a portable carrying case
- Automatic safety shutoff if there is an irregular gas flow/pressure
Check the price of the Gas ONE Dual Fuel Portable Stove Burner on Amazon
*When possible we recommend using a propane stove outdoors or using butane making this stove a great giving you both options.
Butane
Butane can be used safely indoors with ventilation, each can give about 3 hours of burn time. Butane does produce some carbon dioxide so if using it indoors you should be near an open window or door and have a carbon monoxide detector.
When using a butane stove indoors
- Use a stove rated for indoor use
- Crack open a window or door
- Check for any damage or wear
- Have it checked by a professional yearly
There are two types of butane fuel, butane, and isobutane. Both can be used interchangeably as long as the can fits the stove you are using because there is very little difference in the makeup of the fuel.
Butane has an indefinite shelf life so it is perfect to have on hand in case of an emergency.
The only downside to butane is the amount of space you would need to store the fuel. Because the cans only last about 3 hours you’ll need quite a few cans if you need to use this for longer than a few days.
If you are trying to decide between a propane stove and a butane stove here are some things that might help make your decision.
- Butane is safer than propane to use indoors.
- Butane is nontoxic.
- Butane evaporates less than propane.
Here is our favorite portable butane stove safe for indoor use
Here is our favorite butane fuel
*Propane and butane are heavier than air. Instead of dissipating like natural gas would it will sink and collect in a low spot making a gas explosion a concern.
Canned Heat
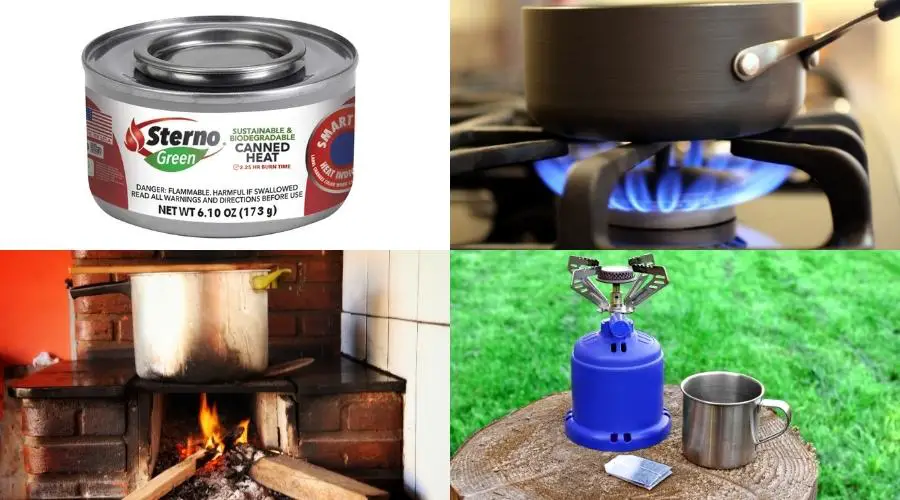
Canned heat commonly known as Sterno cans are safe to use indoors, easy to light, and can burn for up to 6 hours, making them great for indoor cooking.
Canned heat is commonly used by caterers under chafing dishes when there is a large amount of food that needs to be kept warm for an extended period of time. Canned heat will burn for up to 6 hours. Multiple cans together will produce an impressive amount of heat however you should only need one can.
You can use a single can to warm something up, boil water, or place a few together and they can produce enough heat to use under a large pot to cook a meal for a larger family.
Canned heat cans can be reused. To put out a can just replace the lid and let it cool before storing the can.
These cans have about a 5-7 year shelf life. 2-year shelf life once opened.
- Includes an inserted wick, making it easy to light
- 6-hour burn life
- Uses a cleaner fuel source compared to other sources of chafing fuel, Diethylene Glycol
Check the price of the Gas One 12 Pack, 6 Hour Cooking Fuel on Amazon
Alcohol
Alcohol is the cleanest fuel to burn indoors as it produces little to no carbon monoxide. It is easy to light, has an indefinite shelf life, and while it doesn’t burn as hot as some other fuels it will not explode when burning. Alcohol produces enough heat that it can boil a can of soup in about 5-10 minutes.
When burning alcohol you are not actually burning the liquid, but burning the vapors that come off of the alcohol. Because alcohol burns so clean it is possible for it to be lit and burn with a clear flame so use caution.
Denatured alcohol, ethanol, and rubbing alcohol are fuels that burn clean and are safe to use indoors.
Denatured alcohol burns the hottest of these types of alcohol. While rubbing alcohol is an option it is probably last on the list as it does not burn as hot, has a smell to it, and is not as clean to burn as denatured.
To extinguish the flames you will need to smother the flames. Alcohol will not blow out like a candle. In fact, when blown on, alcohol flames can grow and come back at you.
3oz. of alcohol will burn for about 15–20 minutes, giving plenty of time to boil water to start cooking a meal.
If you are looking for something small to have on hand in the event of an emergency we recommend the solo stove light (on Amazon) with the alcohol burner (on Amazon) (see both options below). These can be stored together and are normally used for backpacking because they are small enough to be portable. They take up very little shelf space.
Candles
Candles are not the most efficient to cook with but a candle will not produce carbon monoxide and burn for about 7-9 hours per ounce of wax. Unscented wax candles are a great emergency fuel that can safely be used indoors to slowly heat foods.
If you are worried about the possible fumes that the other fuels can let off then placing multiple unscented wax candles together such as tea lights, or votive candles is a great way to create enough heat to warm food.
So long as there is enough oxygen candles can produce enough heat to heat a can of soup and even be used in a small oven to bake something such as bread. 10 tea light candles will give you a burn time of about 4 hours.
Here is a how-to video on Baking Bread with tea lights.
If storage space or the cost of fuel is a concern for you, candles are a great option. They are very cheap and don’t take up a lot of room to store. Candles can also be stored outside so if you are in an apartment and want to be prepared but don’t have any outdoor storage these are a great option.
Fireplace
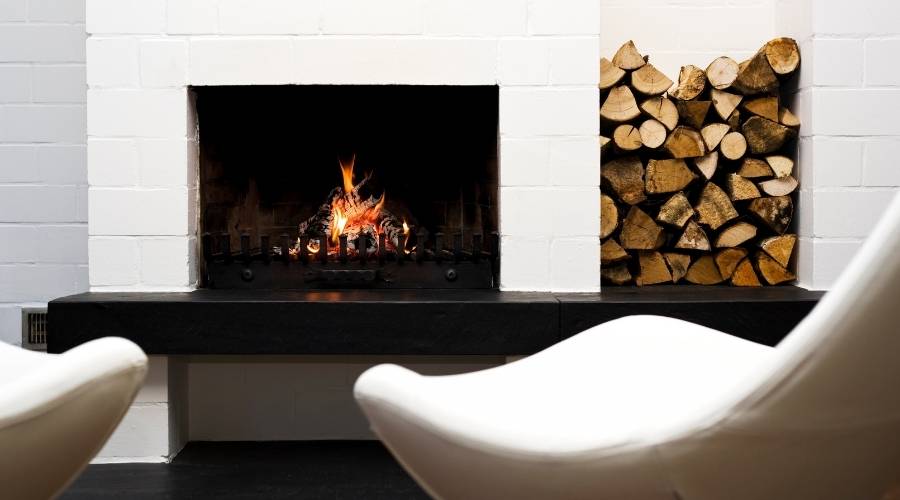
Pulling some of the hot coals out towards the front of the fireplace makes cooking with your indoor fireplace so easy. The possibilities are endless.
Wrapping food in tin foil such as potatoes, sweet potatoes, onions, and apples. Corn on the cob, vegetables with a slab of butter, tinfoil dinners, chicken, salmon, bread dough, the list could go on and on. Wrapping food in foil, setting it on hot coals, and flipping it every few minutes is a great way to prepare a meal.
If your home has a fireplace it could be possible to cook in the fireplace just like you would when camping. Just remember you don’t want to use your good kitchen pans in this situation if you can avoid it so you don’t ruin the pans. We like to have a couple of cast iron pans on hand that we use for camping and can easily be used for something like this.
With an open fireplace, you can easily cook hotdogs, or biscuits just like you would over a campfire. If you have a metal grate handy you can place it on top of coals to heat a skillet to cook a meal.
If you have an open fireplace you can put a camp grill (see on Amazon) over the fire and use it as a grill. Something as simple as this grill could help you make a meal for your family in an emergency.
Cooking on your fireplace is going to be much more doable in the cooler winter months. There’s no use in making a tough situation worse by lighting your fireplace in the summer when it is already 90+ degrees outside and no way to cool the house down. It is a fantastic option but a good idea to have other options available during the summer months.

MRE (Meals Ready to Eat)
There are two ways to heat MRE meals.
- Air activated heater
- Flameless ration heater or water-activated heater
Air activated heater- the air-activated heater meals are lighter and use only the air to activate and begin heating your meals. These meals are also safer and there is no byproduct of the chemical reaction used to create heat.
Water-activated heater- the water-activated heater uses a magnesium iron heater that when water is added to it, causes a chemical reaction that can heat your food in about 10 minutes. Because of the chemical reaction, there is a small amount of hydrogen gas that is released. Hydrogen gas is very flammable and can be very dangerous if released near an open flame.
MRE meals can be super convenient and have an extended shelf life, however, they are not something that you would want to eat for an extended time if you can avoid it. It is recommended to not eat MRE meals for more than 21 days in a row.
MRE meals are lower in fiber and designed to get you as many calories in as possible in one meal. Each meal has an average of 1,200 calories.
MRE meals are not dehydrated or freeze-dried. MRE meals are pre-cooked meals and contain all their moisture just as canned foods do.
Freeze Dried Food
Freeze dried food is great to use for safe indoor emergency cooking because in most cases it only requires water to rehydrate and then it is good for eating. For best results, you’ll want to use hot water to rehydrate so you can use a variety of different heating sources to boil or heat water to rehydrate your freeze dried food.
I also like to use foods like freeze dried onions in a variety of different meals. Freeze drying fresh produce makes it store well for decades while keeping up to 97% of its original nutritional value.
For those who grow a garden, have a lot of leftovers, and have enough funds we suggest getting a freeze dryer (Buying a Home Freeze Dryer, What You Need to Know First) and preserving your own food that stays good for 25+ years and is enjoyable to eat and easily used for emergency cooking.
Most foods can be freeze dried, only a few can’t, making freeze drying one of my favorite food preservation methods vs other methods such as dehydrating, canning, and freezing.
Additionally, adding commercially prepared freeze dried food for emergencies or camping to your food storage will expand your food storage and help you decide what you like. We spend days trying different kinds to find the best freeze dried foods for any circumstance to help make it easier for you.
Learning how to store freeze dried food is simple and extremely helpful so that it can be used for cooking in any emergency situation.
Conclusion

Having options for cooking in an emergency situation when the power is out or under other circumstances is necessary to sustain life and keep your family from starving. It is a good idea to have multiple of the above options on hand so that you will be ready for any emergency that comes your way.


